How to prepare your walls for wallpaper (the right way)
Before you dive into wallpapering bliss, a little wall prep goes a long way. It’s like setting the table before a fancy dinner – you could skip it, but things might get messy. Here’s what to do:
1. Clean & Clear – how to prepare walls for wallpaper starts here
Literally. Your walls should be clean, smooth, dry, and solid. No flaky old paint, dust bunnies, or mystery grime. If your wall is already smooth and hole-free – lucky you! Just wipe it down with warm water and a bit of mild soap.
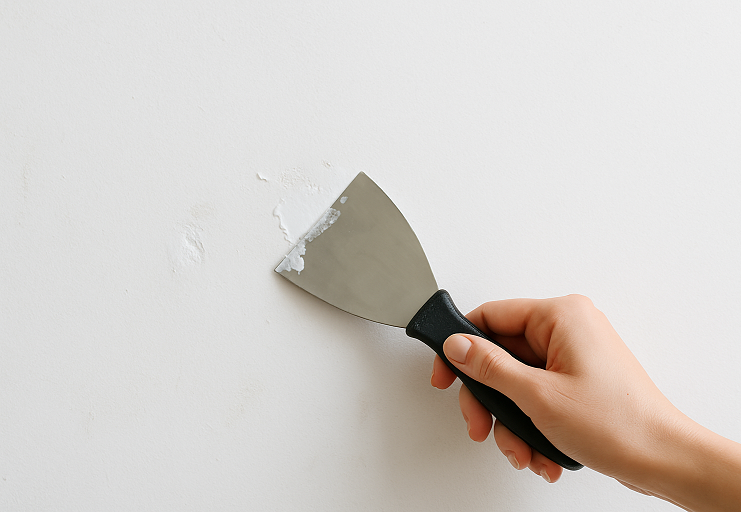
2. Fix the flaws
Remove any nails, screws, or long-forgotten wall hooks. Fill in holes and cracks with filler. Once dry, sand everything down so it’s baby-bottom smooth. If there’s old wallpaper hanging around with raised seams, trim those edges off.
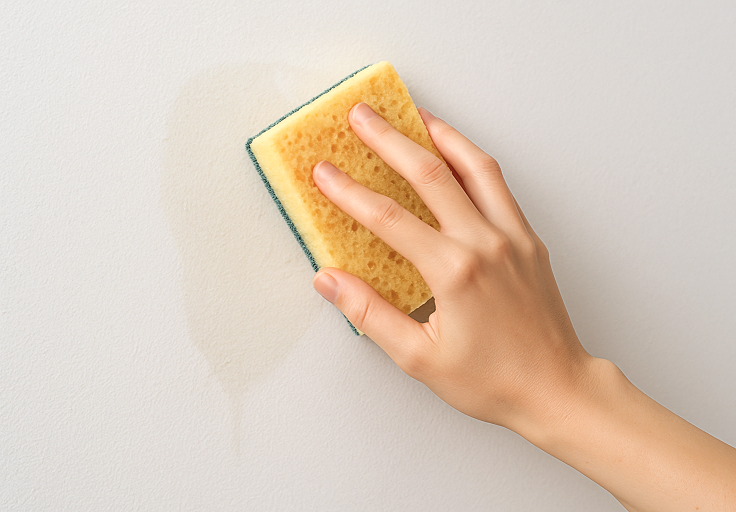
3. How to prepare walls for wallpaper with a proper wash
Use a sponge, warm water, and a gentle cleanser (the kind used before painting). Then let the wall dry for at least 24 hours. Don’t rush – if any patches swell up when wet and shrink back weirdly, that’s a red flag. Fix it before moving on.
4. Safety check!
Switch off electricity at the breakers and remove any socket or switch covers. Wallpapering blind is fun until you get zapped.
A few special cases to note
- Dark or patterned walls?
If your existing wall is dark or has a bold pattern, consider painting it a light, neutral shade first. Otherwise, those ghosts from wallpapers past might peek through the seams.
- Textured walls (like orange peel or knockdown)
If your wall feels like the surface of the moon, you may need a skim coat or special wallpaper primer to even things out. This makes installation smoother and, bonus – it helps if you ever want to remove the wallpaper later without drama.
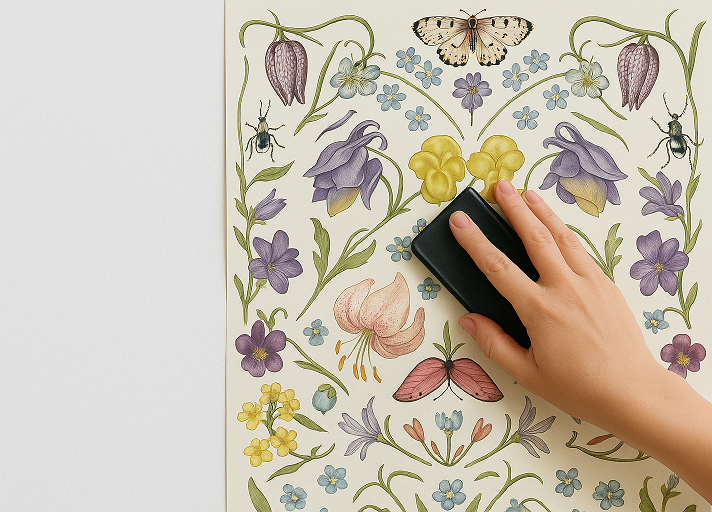
And that’s it! A little effort upfront means your wallpaper will go up easily and look amazing. Ready to hang? We’re rooting for you. Oh, and before that – pick your new, gorgeous wallcovering without leaving home – check out the designs here!